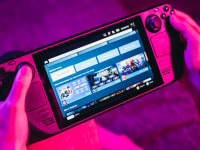
How to use the Steam Deck as a game emulator
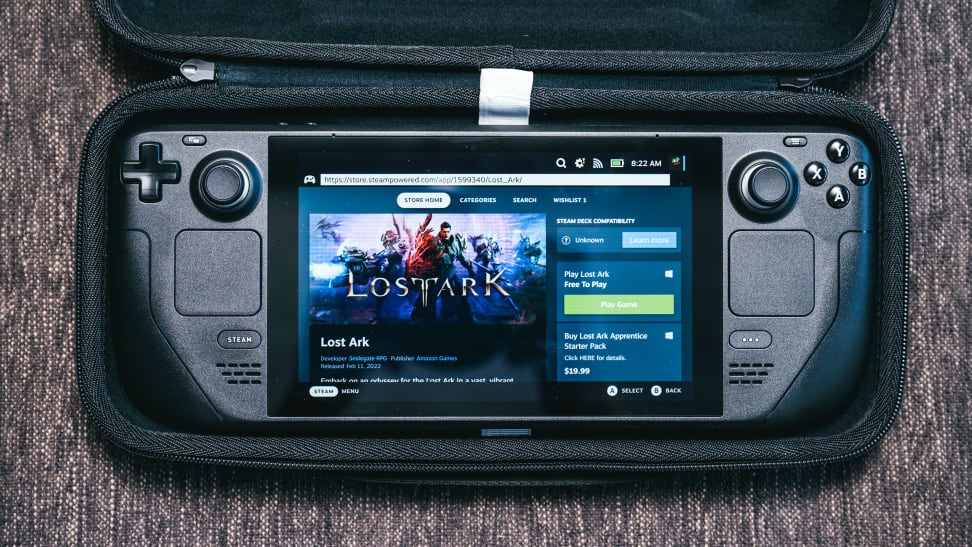
The Steam Deck is great for playing older console games, too.
 Credit:
Reviewed / Jackson Ruckar
Recommendations are independently chosen by Reviewed's editors. Purchases made through the links below may earn us and our publishing partners a commission. Prices were accurate at the time this article was published but may change over time.
Game emulation remains the quickest, simplest way to enjoy old favorites on a modern device— and Valve’s Steam Deck, an affordable handheld PC with a wide range of control options, is a versatile option for playing emulated games on the go. However, emulating games on the Steam Deck is not as simple as on Windows; there are a few hurdles if you want emulated titles to be playable on SteamOS.
This guide will teach you how to use the Steam Deck as a game emulator and launch games directly from SteamOS. (With the right dock and a controller, you can even output from the Deck to your TV to create a complete retro game console.)
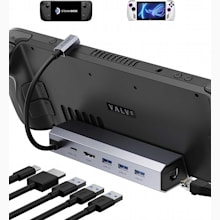
Jsaux's USB hub docking stations are a great way to connect your Steam Deck to a TV or monitor.
Learning the jargon
Explaining emulation relies on a few technical terms that you might not be familiar with. Here’s a quick rundown of what you need to know:
Emulator: An emulator is a program that mimics the hardware of a specific device. In this case, it replicates the features and functions of a game console, which tricks games into running as if you had the original hardware.
ROM (or ROM files): Copies of games originally meant for a console are loosely referred to as ROM files or just ROMs.
Why? Older game consoles used a Read-only Memory (or ROM) chip to store game data. Data retrieved from these cartridges are called ROM files. You may encounter other types of files, but most gamers refer to all copies of original game files as ROMs when speaking generally.
Frontend: Every emulator needs a frontend where users can launch games. This could be as simple as a command line, but today’s best frontend software can support multiple emulators through an attractive user-friendly interface.
Game emulation on the Steam Deck with EmuDeck
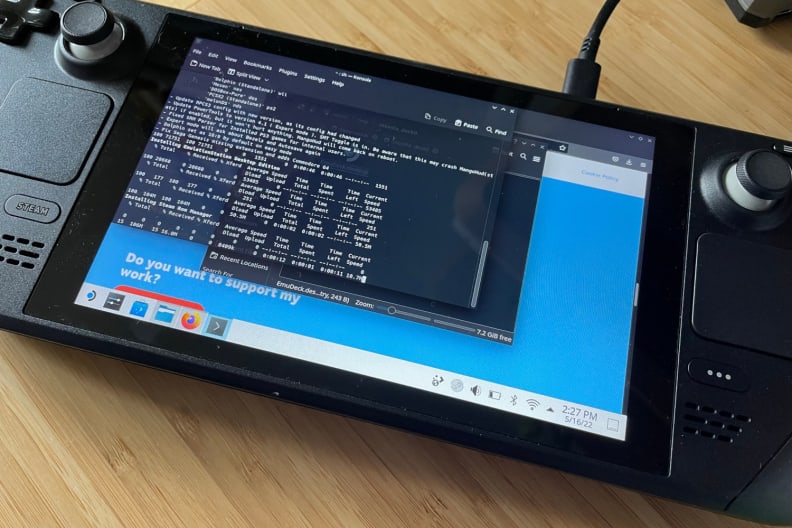
There are dozens of ways to play emulators on the Steam Deck, but this guide will help you achieve an experience that plays nicely with SteamOS.
To do that, we’ll be using a frontend called EmuDeck. This frontend will insert game files into your Steam Library. Once complete, you can launch games from the Non-Steam section.
A quick tip before we begin: connect an external mouse and keyboard. Without them, you can complete this guide, but using the Deck’s built-in mouse input and on-screen keyboard makes it a hassle. We recommend mice and keyboards that can connect either over 2.4GHz wireless (if you’re using a dock) or Bluetooth, just to be safe.
The Corsair K70 Pro Mini Wireless keyboard and Corsair Sabre RGB Pro Wireless mouse are both excellent options that we’ve confirmed to work with the Steam Deck. You’ll also need an Internet connection to complete this guide.
Now, let’s get started:
Step 1: Press the Steam Deck’s power button and hold until the Power menu appears, then select Switch to Desktop to enter desktop mode.
Step 2: Open a web browser and go to the EmuDeck website. Don’t have a browser or can’t use the pre-installed Chrome browser? You can use the Discover app, found in the taskbar, to search for and download a browser of your choice.
Step 3: Download the EmuDeck installer from the download section of the website.
Step 4: Once the download is finished, open the file manager in the taskbar (it looks like a blue folder) and then navigate to Downloads in the left-hand menu.
Step 5: Drag and drop the EmuDeck installer from Downloads to the desktop.
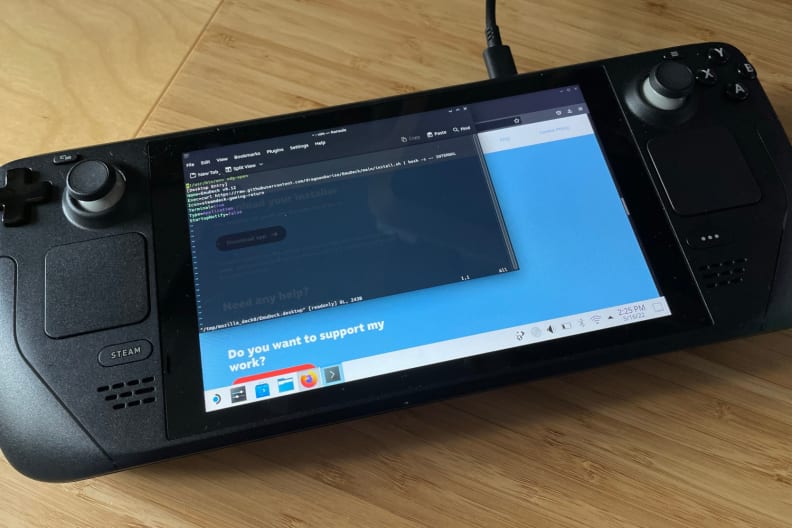
Step 6: Run the EmuDeck installer.
Step 7: The installer will appear and begin downloading files. Wait a moment.
Step 8: An option prompt will appear asking if you’d like Easy Mode or Expert Mode. Use Easy Mode unless you want to tune specific options, such as the pre-configured emulation cores or the exact storage path used.
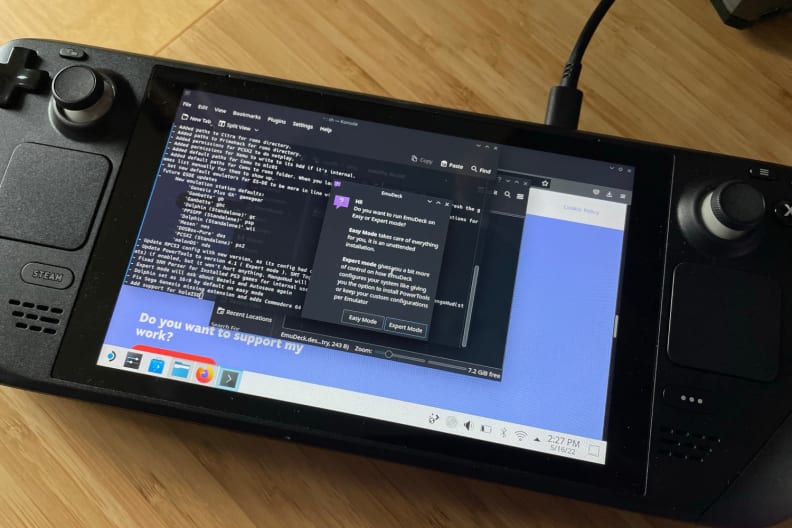
Step 9: The next option prompt asks if you’d like to install to internal storage or an SD card. We used internal storage, but you might want to use an SD card if you’d like to load ROMs later on your PC easily. Otherwise, both options provide the same features. We recommend a fast SD card with plenty of storage, like this 512GB Sabrent Rocket memory card.
-
Step 10: EmuDeck will now complete installation. This involves downloading numerous files, so it may take several minutes, depending on the speed of your connection.
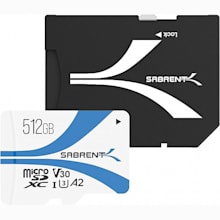 SABRENT Rocket V30 A2 512GB MicroSDXC
A good SD card can store both Steam games and ROMs for emulation.
Buy now at Amazon
A note about Yuzu: During installation, you may see an error that says “Yuzu is not configured.” This is related to the Switch emulator, which requires a specific setup outside the scope of this guide. Tap Ok to proceed.
A note about RPCS3: You may also see an error that says “RPCS3 is not configured.” This is a setting required for PS3 games. Fortunately, the prompt details how to fix this error if desired. You can tap Ignore if you don’t want to play PS3 games.
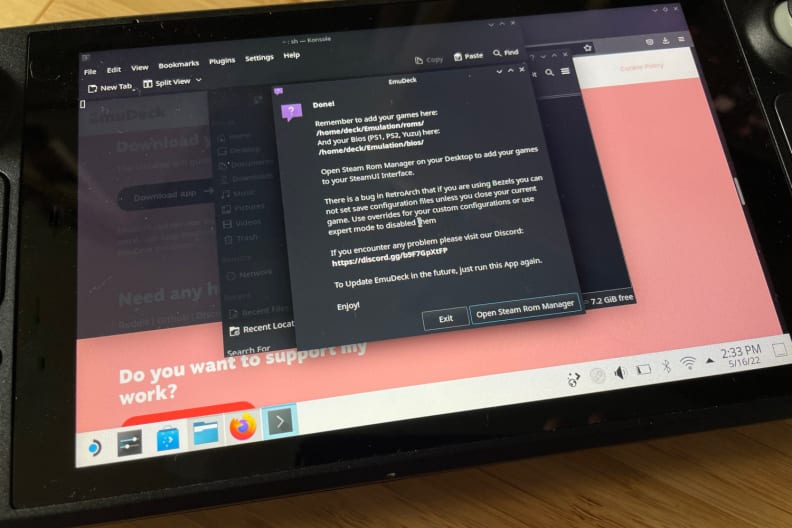
Step 11: Once installation is complete you should see a large prompt that details installation directories and next steps. We recommend snapping a smartphone photo of this prompt for easy future reference.
Step 12: This prompt will include a prompt to Open Steam ROM Manager. You likely don’t have any ROMs in the correct directory, however, so we recommend you hit Exit instead.
Step 13: Completely close the EmuDeck installer and return to the desktop.
Step 14: It’s time to transfer or download ROMs files to your device. Proceed once they’re on the Steam Deck.
Step 15: Open the file manager and navigate to Home/Emulation/roms. You will see a list of folders, each for a specific console. Place each ROM file in the folder belonging to the appropriate console.
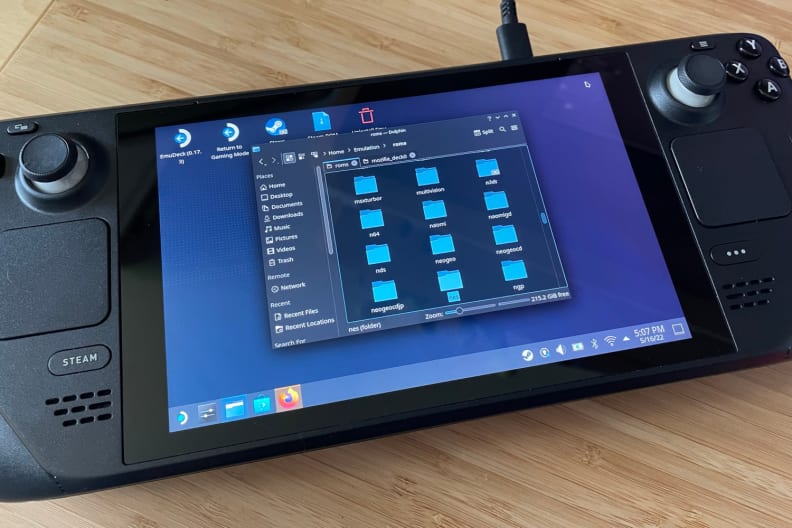
Step 16: Shut down Steam. You will see its icon on the taskbar. Tap it and select Exit. This is important because the following steps won’t work if Steam is running in the background.
Step 17: Open Steam ROM Manager. This was installed on the Desktop during EmuDeck installation.
Step 18: Select Preview in Steam ROM Manager.
Step 19: Select Generate App List. This will detect installed ROMs and download image files for use in SteamOS, as well as place them in the library. Wait a moment for the download to complete.
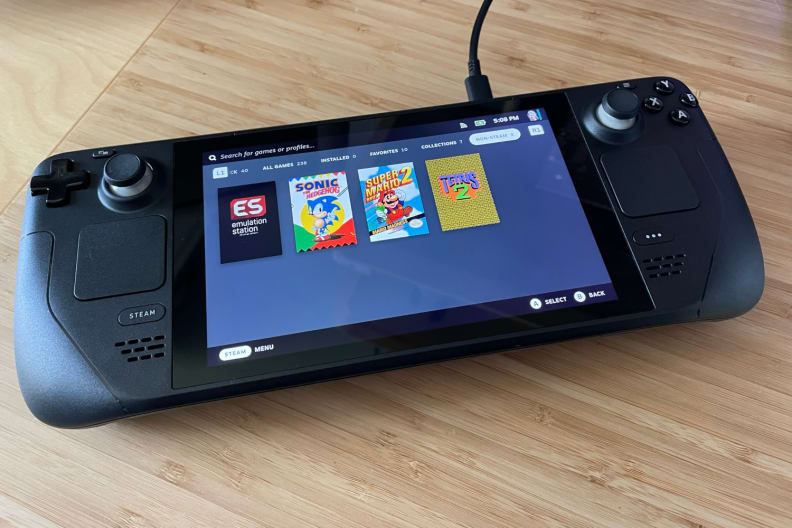
Step 20: Once finished, select Save app list.
Step 21: Close Steam ROM Manager, then launch Return to Gaming Mode.
That’s it! You should now see your available ROMs listed as games in the Non-Steam section of the Library.
Running emulated games on the Steam Deck
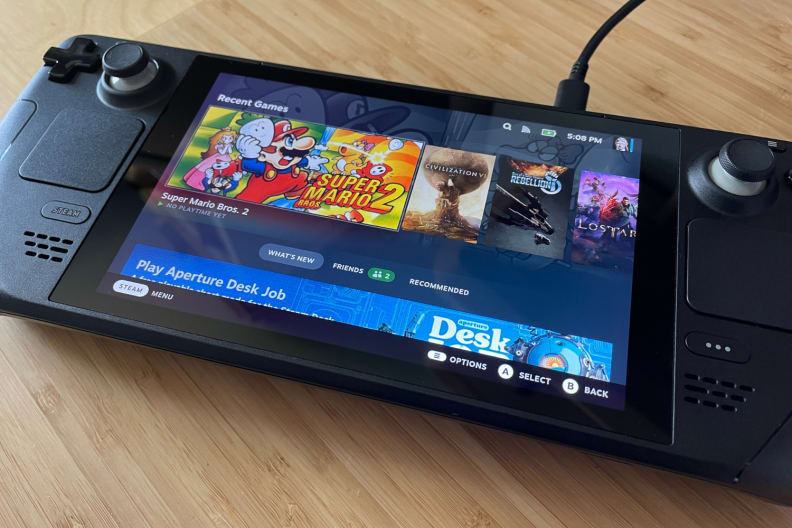
The emulated games that appear on your Steam Deck in SteamOS will run like any other game or app. You can launch them straight from SteamOS and jump out of them back to the SteamOS interface.
Alternatively, you can use the EmuDeck app that also appears in the Non-Steam section of your library. This will launch a frontend that only shows the emulated games you have installed.
Important shortcuts for emulated games on the Steam Deck
Once an emulated game is running through EmuDeck, you can access settings and features using a variety of shortcuts.
The project’s Github page has a shortcut cheat sheet. Note that most emulators are running under Retroarch, so refer to that list of shortcuts unless you are running a specific game that uses a different emulator (such as Dolphin for Gamecube).
There’s one shortcut you absolutely must know: Press the R3 + L3 joysticks at once to summon the menu while running a game emulated through Retroarch. This will let you view save states, adjust the aspect ratio, add filters, and choose dozens of other advanced options.
You can also use Select + A to pause most games.
Is it legal to use the Steam Deck as a game emulator?
Yes, it’s legal to use the Steam Deck as an emulator (in the United States, at least). Though often considered legally dubious, nothing specifically prohibits the use of an emulator or even the use of game ROM files.
However, it is illegal to download ROM files of games you don’t own, or to share ROM files of games for others to download (whether you own the game or not)—so if you choose to emulate games on the Steam Deck or any other device you do so at your own risk.
What emulated games run on the Steam Deck?
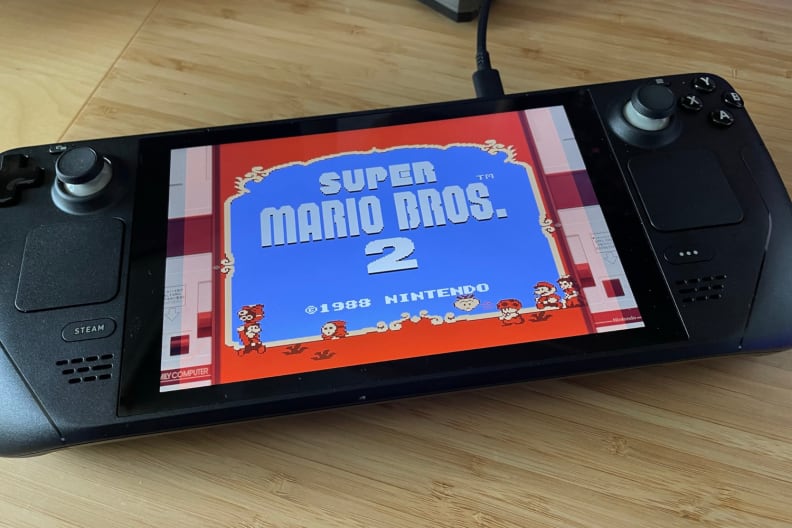
The vast majority of emulated games you can run on the Steam Deck will run well, but it does have its limits. In general, you should expect great performance from all 8-bit and 16-bit consoles. This includes favorites like the NES, SNES, and Genesis, plus handhelds of the same era.
Early 3D consoles, like the N64, Gamecube, and PS1 and PS2, will also run well.
More recent consoles like the PS3, Wii and Wii U, Switch, and Xbox are where you will run into issues. Some games may run well, but many won’t, and you may need to spend a lot of time tweaking settings files to make games work at all.
YouTube channels that frequently dig deep into emulation, like ETA Prime and Retro Game Corps, are useful sources if want to emulate newer games on your Steam Deck.


