Ordering oysters this summer? Here’s how to shuck them
Celebrate summer holidays with a bounty of bivalves.
 Credit:
Reviewed / Valerie Li Stack
Recommendations are independently chosen by Reviewed's editors. Purchases made through the links below may earn us and our publishing partners a commission. Prices were accurate at the time this article was published but may change over time.
Among the many shared interests between my husband and I, our love of raw oysters has generated numerous delightful memories. We’ve done everything from subscribing to a community-based farm share delivery of oysters to planning adventures at aqua farms and oyster festivals. However, we wouldn’t be able to enjoy oysters at all without the knowledge of how to shuck them.
Whether you like them raw or prefer cooked versions such as oysters Rockefeller, here’s a quick guide to shucking oysters with ease.
Do you need an oyster knife?
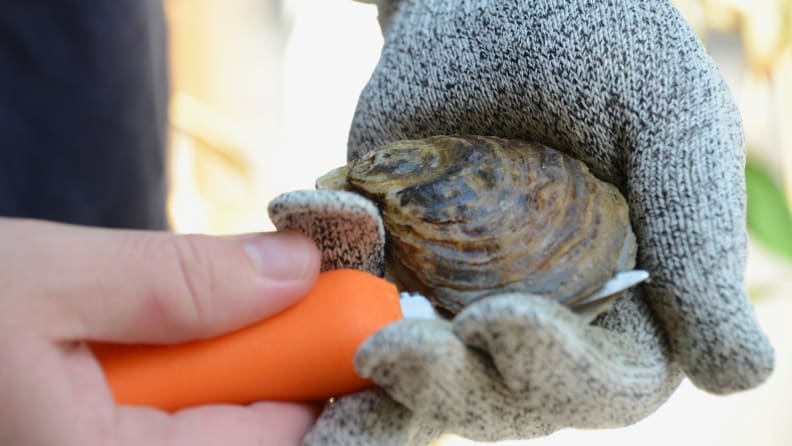
A good oyster knife can make shucking easier.
The short answer: yes.
Many people wonder whether they can substitute the oyster knife with a table knife or a flat-head screwdriver. Theoretically, any thin but strong knife with a relatively flat tip could help you open an oyster, but we don’t recommend that.
Speaking from personal experience, if you’re new to shucking and aren’t in the company of an expert, using a non-oyster knife may produce frustrating results—which is why I recommend getting an oyster knife.
Oyster knives come in a variety of shapes and sizes, but the Boston and New Haven styles are the most popular. The Boston shucker has a long and narrow blade with a rounded tip and is best for small to medium-sized oysters and are suitable for beginner shuckers.
The New Haven-style knife has a shorter and wider blade with a pointed tip that curves upwards. The curved part prevents breaking the meat and provides leverage to pop open the shell with ease.
I prefer a Duxbury-style shucker from Island Creek Oyster Farm. Its design combines characteristics of many traditional shuckers and is super easy to use. It features a short blade with a pointed tip.
What else do I need for shucking oysters?
When it comes to shucking oysters at home, safety should always come first. Though you may be able to get by with an oven mitt, I strongly recommend a pair of cut-resistant gloves that are designed with shuckers’ safety in mind.
Not only do the oven mitts soak in the oyster water, they may also end up covered with shattered shells that are hard to clean. Plus, oven mitts can’t guarantee any of the precision that’s needed when you’re handling a hard-to-remove shell.
How to shuck oysters
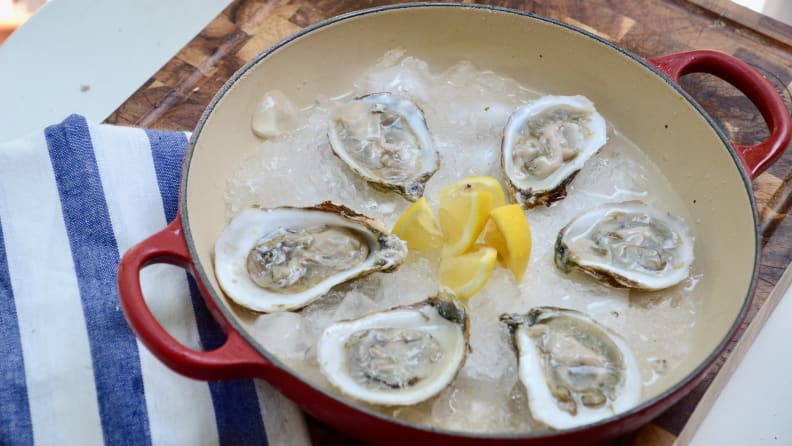
Follow the steps to learn how to shuck oysters.
What you’ll need
- An oyster knife
- A pair of cut-resistant gloves
- An apron
- Optional: a towel or mat
Step by step
1. Prepare the oyster plate
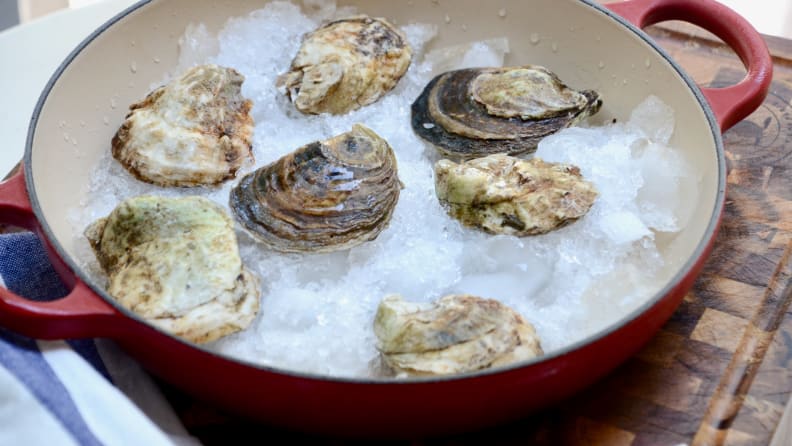
Let the remaining oysters chill on ice while you work on others.
Before you get in on the action, prepare a bed of crushed ice for the fresh oysters to sit on while you work through them. We recommend using a food processor or pro-style blender if you don’t have an ice maker to crush ice cubes. Once you’ve got your crushed ice, line the bottom of a large tray with a layer of paper towels to prevent the ice from shifting. Arrange the crushed ice approximately two to three inches deep. Set aside.
2. Make sure to wear protective gloves
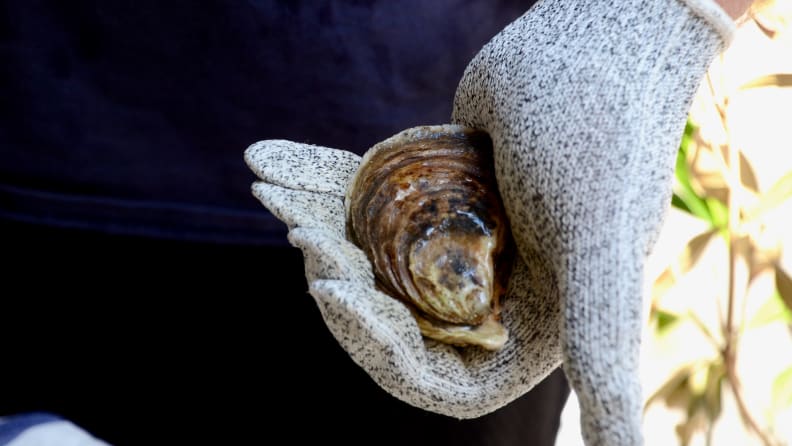
Be sure to protect your hands.
Wear a pair of gloves at all times while shucking oysters. Additionally, you can also place a mat on the table and angle the oyster on the mat instead of holding the oyster in your hand while shucking.
3. Hold the oyster
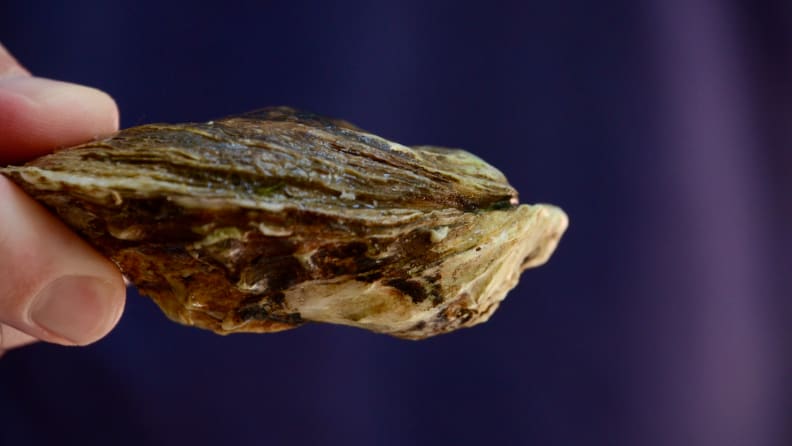
The "cupped" side is generally rounder than the flat side.
Pick an oyster to shuck and hold it with the flat side facing up using your less-dominant hand. Allow the cupped side of the oyster to rest on your palm.
4. Find the hinge
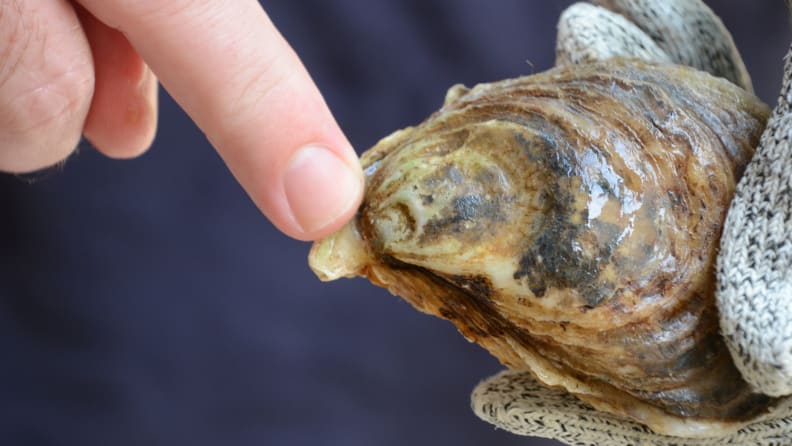
The hinge is where the two shells meet.
Find the hinge, which is a pointed, v-shaped end of the oyster that connects the two shells.
5. Twist, slide, and open
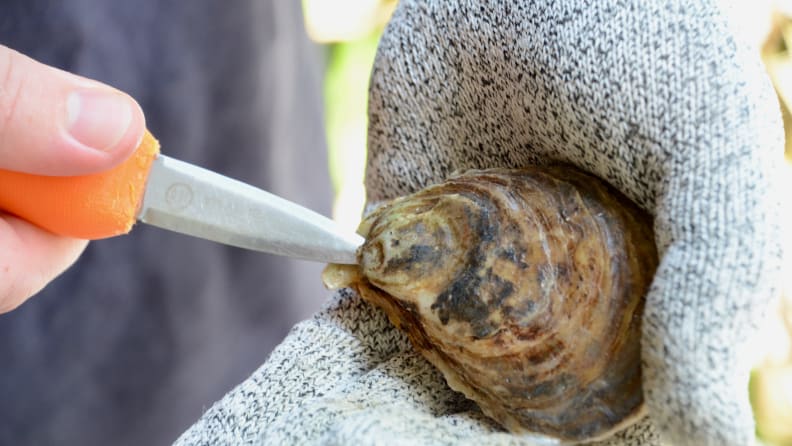
Once you successfully insert the knife in the hinge, twist gently.
Insert your knife right under the hinge and gently twist the knife repeatedly until you hear it pop. You should be twisting rather than putting force on the shell because the latter would cause the shell to shatter. Then, continue sliding the knife through to fully open the oyster. Don’t use your hand to open the shells because they’re very sharp.
6. Cut off the muscles
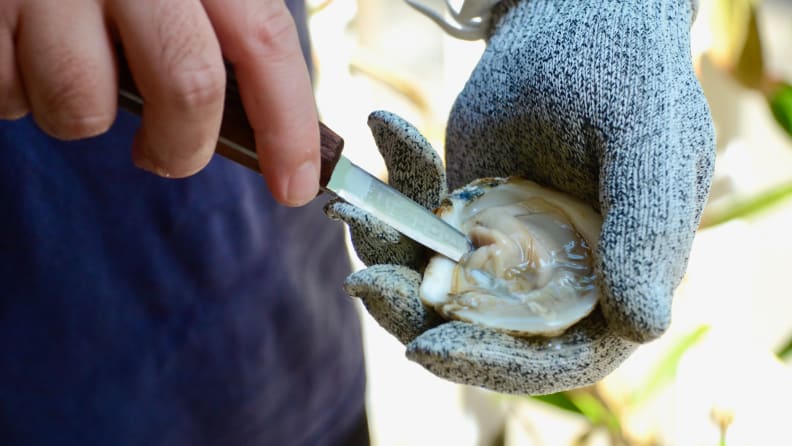
Remove the muscles if you're consuming raw oysters.
Remove the top shell. Now you’re holding an oyster with its meat exposed and some sea water in it. Insert the knife right under the meat and cut through any connecting tissues.
7. Time to enjoy!
Now, place the oyster with the cupped side down in the tray. Make sure the shell is tucked into the bed of ice so the brine won’t come out. Serve with lemon wedges and mignonette sauce.
If you’ve put in your best effort but the raw oysters still won’t budge, you can always cook them on the grill. Once oysters are exposed to high heat, the shells should pop open, letting you season the meat with condiments and sauces.


