You're cleaning your kitchen wrong
Here's how to take care of everything germy and gross
 Credit:
Reviewed / Getty Images / SolStock
Recommendations are independently chosen by Reviewed's editors. Purchases made through the links below may earn us and our publishing partners a commission. Prices were accurate at the time this article was published but may change over time.
I hate to break it to you, but your kitchen is likely the dirtiest, germiest room in your home. Sure, you can bleach your countertops and wash the floors—but what about your appliances?
They're probably gross, and you need to work on that.
I always dread cleaning my appliances, but I also really hate the idea that they’re filthy. You probably feel the same way. So, it’s time to clean them. Here's a step-by-step guide. Grab your rubber gloves, and always check your user manual and follow whatever it says about cleaning.
Clean your toaster
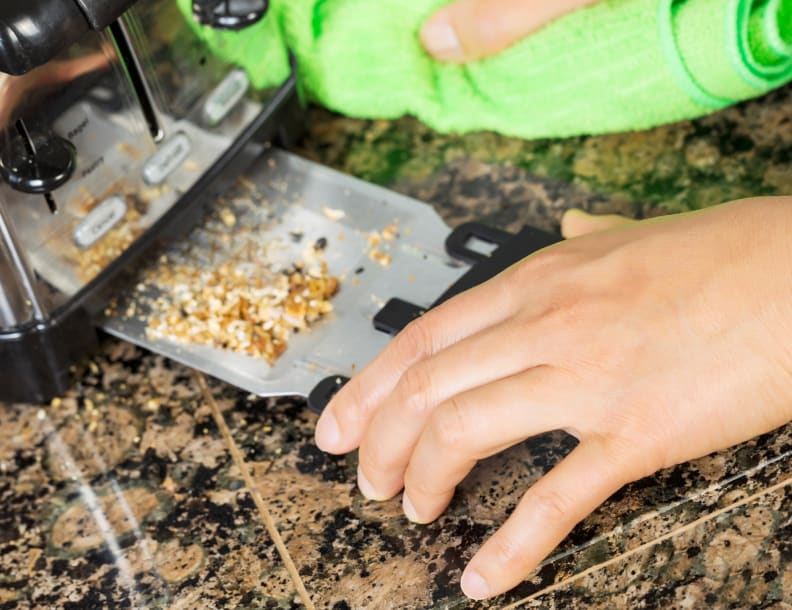
I kind of feel bad for my toaster, because I rarely think about cleaning it. But the other day, I accidentally moved the toaster, and I was shocked to see the trail of crumbs that followed. I knew I had to clean it, and I figured it would be simple. Here’s are the steps.
- Unplug the toaster.
- Slide out the crumb tray, and dump the crumbs.
- Turn the toaster upside down over the sink and shake out the rest of the crumbs.
- Put a little detergent on a wet rag and wipe the plastic parts on the outside.
- Wipe the top with a little bit of white vinegar on a wet rag.
Clean your microwave
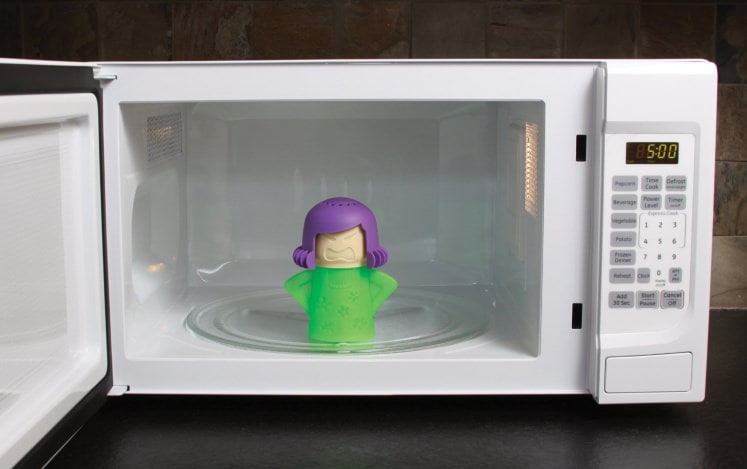
Cleaning up spatter from the leftovers I reheat would be easy, if I did it every day. But when lunch is hot, I want to eat it right away. Then, I go back to what I was doing before. So, by the time I get around to cleaning the microwave, it really needs it. There are a couple of ways to clean the microwave. The first one is the one I use. The second one is for you if you have an Angry Mama, a steaming plastic microwave cleaner that loosens the grime.
DIY method—Using water and lemon
- Pour a half cup of water into a microwaveable bowl. (I use a glass measuring cup.)
- Add the juice of one lemon, and toss the lemon halves in, too.
- Microwave the container of lemon water for 3 minutes.
- Let it stand for about 5 minutes.
- Remove the bowl carefully, because it’s still pretty warm.
- Wipe off the inside of the microwave with a paper towel.
- Take out the glass plate. Wash it, dry it, and return it.
- (Optional) Toss the lemon halves in the disposal, to get it smelling fresh.
Shortcut—Using an Angry Mama
- Fill the device’s body with vinegar and water.
- Microwave it for 7 minutes so it can throw off steam.
- Remove Angry Mama from the microwave carefully (it’s hot!) by its arms.
- Wipe out the inside of the microwave with paper towels.
- Take out the glass plate. Wash it, dry it, and return it.
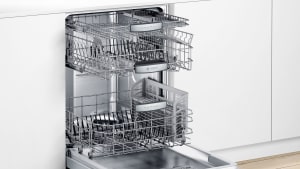
Clean your dishwasher
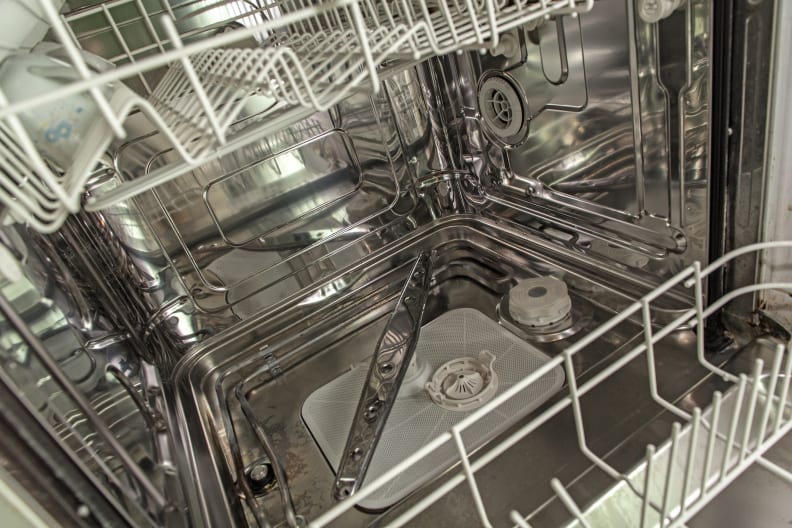
Another case of something I thought was already clean, but it wasn’t. If your dishwasher has a sanitize cycle, follow the directions and use it. Otherwise, use one of these methods.
Lots of bloggers will tell you to use white vinegar to clean a dishwasher, but knowing that vinegar can deteriorate rubber parts, I just don’t go there. This leaves using a dishwasher cleaning tablet or (the Tang trick.)
DIY method—Using Tang Hint: It’s the citric acid in the beverage that does the cleaning. And it does a good job!
- Take out the filter and wash it in the sink with warm sudsy water. (You probably need to slide out the bottom rack to reach it.)
- Take out the spray arm and poke the gunk out of the holes with a toothpick or skewer.
- Wipe the seal with a wet rag and liquid dish detergent. (Not automatic dishwasher detergent!)
- Run the water in your sink until it gets hot.
- Start the dishwasher and let it run for six minutes.
- Pour 12 ounces of Tang into the standing water.
- Close the door and let the cycle finish.
Shortcut—Dishwasher cleaning product (like Affresh dishwasher cleaner) If the Tang method doesn’t appeal, you can buy a dishwasher cleaning tablet to clean the dishwasher.
- Take out the filter and wash it in the sink with warm sudsy water. (You probably need to slide out the bottom rack to reach it.)
- Take out the spray arm and poke the gunk out of the holes with a toothpick or skewer.
- Wipe the seal with a wet rag and liquid dish detergent. (Not automatic dishwasher detergent!)
- Run the water in your sink until it gets hot.
- Place the container of cleaner in the cutlery basket.
- Start the cycle and add dishwasher cleaning tablet.
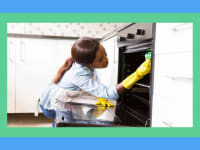
Clean your oven
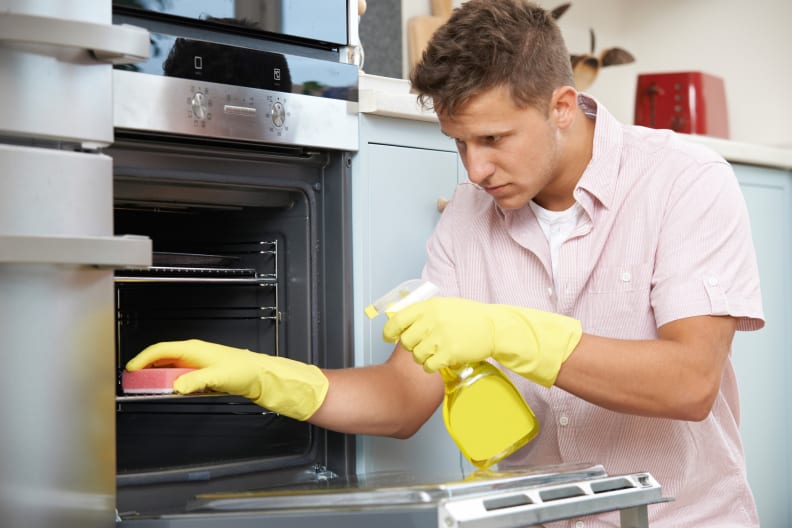
Oven cleaning is a task I’m so averse to, I always put it off way too long. There’s no easy, low effort way to do it (unless you have a steam-cleaning oven), so just pick a method that you can deal with. Oh, and if you have an oven thermometer. a broiler pan, or a pizza stone in there, take it out before you start.
DIY method—Using baking soda
- Remove the oven racks and soak them in warm water and dish detergent, in the bathtub if you have to.
- Make a paste of baking soda and water, and spread it around the oven, even on the window.
- Let it sit overnight.
- Wipe out the oven with a damp cloth.
- Spray a little vinegar on any residual baking soda. (It’ll foam up a bit. That’s a good thing.)
- Wipe out the oven again.
- Rinse the racks off and slide them back in.
Shortcut—Using the Heated (pyrolytic) self-clean cycle It takes a thousand degrees of heat, several hours, and a nice day, because you’ll have to open the windows to let out the stench of burning grease.
- Remove the racks and soak them in warm water and dish detergent.
- Follow the instructions in your user manual to start the cycle.
- When it’s done and you can open the locked door, wipe out the ash.
- Rinse the racks and slide them back in.
Shortcut—Using the Steam cycle If your oven has this feature, you’re very fortunate. It gets the oven clean fast, doesn’t smell bad, and doesn’t use much heat. It may not get all the grime, especially in the back of the oven, but you’re not meant to use the steam cycle on a really dirty oven. You should use it regularly for light cleaning.
- Remove the racks from the oven, and wash them.
- Pour the amount of water your user guide specifies into the bottom of the oven.
- Press the Steam Clean button.
- Press Start.
Shortcut—Using oven cleaner
If you don't mind using chemicals, this method will get your oven clean. Try to find a brand without fumes.
- Take the racks out, and soak them in the tub.
- Spray the cleaner in a cold oven, starting at the top and moving down.
- Close the oven door.
- Wait 2 hours.
- Wipe the oven down with a wet sponge or cloth, rinsing often.
- Rinse and replace the racks in the oven.
Read more about cleaning your oven
Clean your glass stovetop
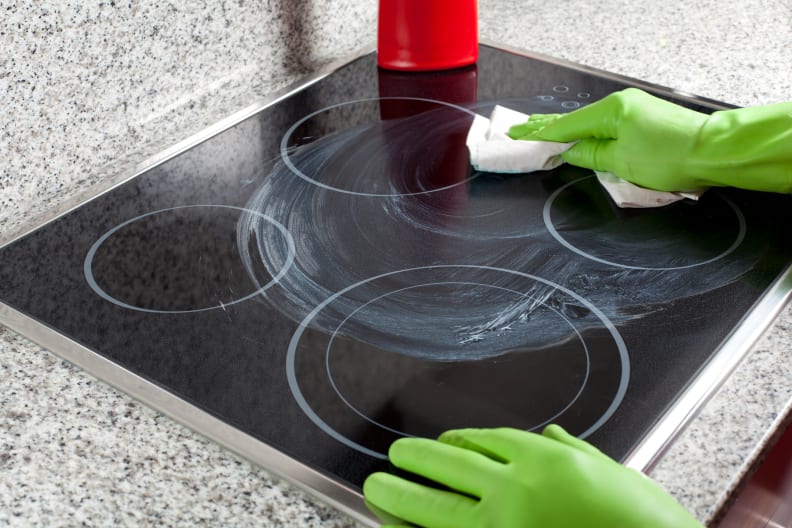
No matter what they tell you, these are not so easy to keep clean. But you can't delay, because that makes it much harder. I've enjoyed using the little scraper that came with the stove, especially when there's a burned-on spot. If you use it very carefully, it quickly becomes your best stovetop spot cleaning buddy. But you need more than that to get the stovetop clean.
DIY method—Baking soda
- Let the stovetop cool completely.
- Sprinkle on some baking soda.
- Use a damp scrubbie to spread the baking soda paste around, and keep scrubbing gently.
- Wipe with a clean, soft cloth.
Shortcut—Using a cleaning product
- Spray or spread the cleaner over the stovetop.
- Wipe it off with a clean, damp cloth.
Clean your refrigerator
Do this before you go grocery shopping, or even before you go on vacation—anytime the fridge is relatively empty. You can unplug the fridge, if you’re ambitious. I just work fast, closing the door when I can.
DIY method—The only choice
- Take all the food out and put it on the kitchen table. I guarantee there will be some surprises. Get rid of anything that has expired, or that you know your family or roommates will never eat.
- Remove the shelves and drawers, and wash them well in warm, soapy water. (Some of the baskets on the door may fit in your dishwasher.) Dry them and put them aside.
- Clean the inside of the refrigerator with a baking soda and water solution. There’s something that feels icky about spraying an all-purpose cleaner in a fridge. Maybe it’s that the smell doesn’t complement food. But use one if you like.
- Take a soft scrubbie to any spots.
- Wipe the sides of the fridge with paper towels.
- Wipe the gasket. Some people like to put on a thin coat of Vaseline, to get it to close tightly. You’re on your own for that, though because I haven’t tried it.
- Rinse off glass and plastic jars and bottles before you put them back.
- Put all the shelves and baskets back in the fridge.
- Don't forget underneath and behind! Trapped dirt and dust can keep your fridge from running efficiently.
Read more about how to keep your refrigerator clean
Clean your washing machine
The laundry room is probably not as clean as it needs to be, considering that I wash clothes, towels, and bedsheets there. I always clean the lint filter in my dryer, but that is not nearly enough. I have to clean our washing machine, too.
DIY method—Front loader Until I got a front-loader, I never thought of cleaning a washing machine. (My bad!) But if you’re not super careful with a front-loading washer, constantly wiping the gasket, and using HE detergent every cycle, the gasket gets moldy, leaving your laundry with a sour, mildew smell. If that happens, believe me, you’ll want to clean the washer right away.
- Add hot water to the washer. It may help you to put in a few old towels when you run this cycle, to convince the internal sensor to add enough water.
- Add 2 cups of bleach to the dispenser.
- Run the Normal cycle.
- Run the cycle again with hot water to wash out the bleach.
- Wipe the rubber gasket carefully on both sides, using a bleach and water solution.
- Wipe out the dispensers.
- Leave the door ajar every time you finish washing a load of laundry, so the moisture can evaporate.
DIY method—Top-loader with agitator You’re not off the hook if you have a top-loading washer. But it’s a little easier to clean, I think, because it’s not as hands on.
- Start a Normal cycle, using hot water.
- Pour 2 cups of bleach into the bleach dispenser.
- Agitate it for a few seconds.
- Pause the cycle and let the washer sit for an hour.
- Finish the wash cycle.
- Wipe out the dispensers.
Shortcut—Using a washer cleaner like Affresh You may need to use a product like Affresh if you run your washer's sanitize cycle. Your washing machine may not heat water internally. If it doesn't, it will tell you what to use with sanitize, right on the machine's control panel.
- Place a tablet in the tub.
- Run a normal cycle with hot water.
- When the cycle is complete, wipe off any visible residue with a paper towel.
Read more about how to clean your washing machine
Clean stainless steel
Don't you despise the fingerprints and smudges that show up daily on the outside of your stainless appliances? I could buy special wipes to clean them, but I just rub on a tiny amount of coconut oil, and rub it off with an old towel. It works surprisingly well.
Chill: Your appliances are clean
Don’t plan to clean all of your appliances in one day, even if you have help. But when it's done, you’ll still feel a sense of accomplishment when you've completed the dreaded appliance cleaning chores. Maybe it will feel so good, you’ll clean them more often.


