How to clean a Dutch oven so it'll last forever
Because your favorite cookware is too nice to replace
Recommendations are independently chosen by Reviewed's editors. Purchases made through the links below may earn us and our publishing partners a commission. Prices were accurate at the time this article was published but may change over time.
We've all been there: you’re in the middle of making dinner when you’re called away from the kitchen, perhaps because your dog is eating something he shouldn’t or you’ve thought of a funny tweet. When you return, it's an ugly scene—your food is all scorched up, and with it your once-beautiful Dutch oven. Le Creuset, l'horreur!
While this might send you into a panic, don’t just dump your food and resign yourself to a life of dirty, disastrous cookware. There is hope yet for your favorite cooking vessel.
Soap, water, and the scrubbing side of a sponge should always be your first line of defense on enamelware like a Dutch oven, but if that isn’t enough to remove caked-on food or burnt spots, you need to move onto a heartier solution.
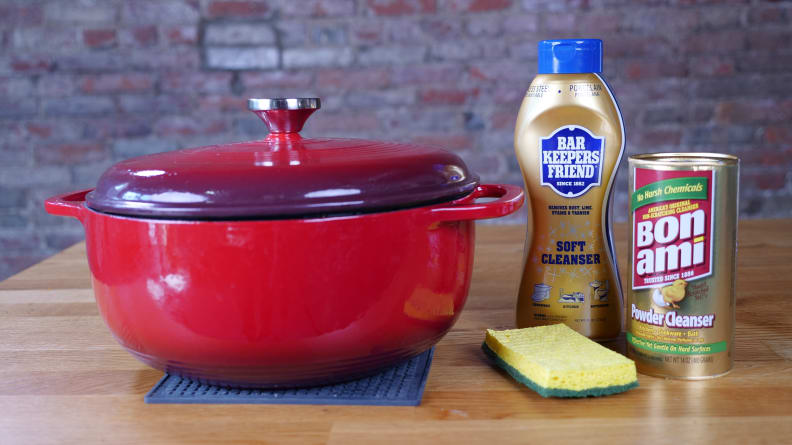
Here’s how to get your Dutch oven back to its original state:
What you need
- Your dirtied Dutch oven
- A standard dish sponge, or gentle scrub pad (no steel wool!)
- A bottle of Bar Keepers Friend (liquid and powdered forms both work) or Bon Ami
- Running water
What to do
1. Assess and prep the Dutch oven
While being careful not to burn yourself on a still-hot Dutch oven, remove as much solid food debris as you can with wooden or plastic utensils and a scrubby sponge.
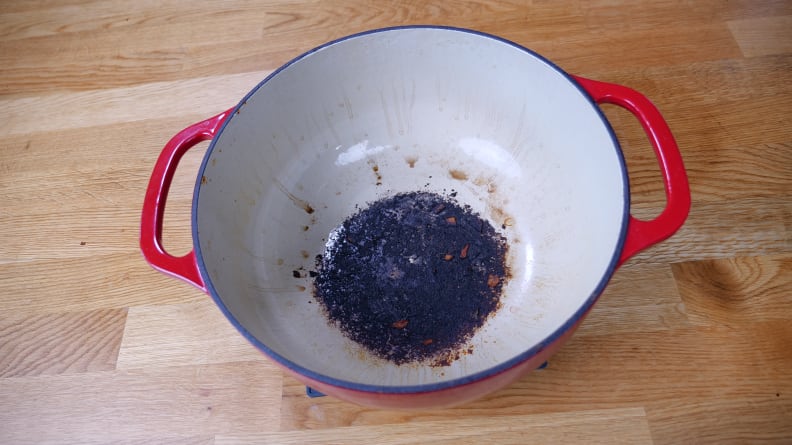
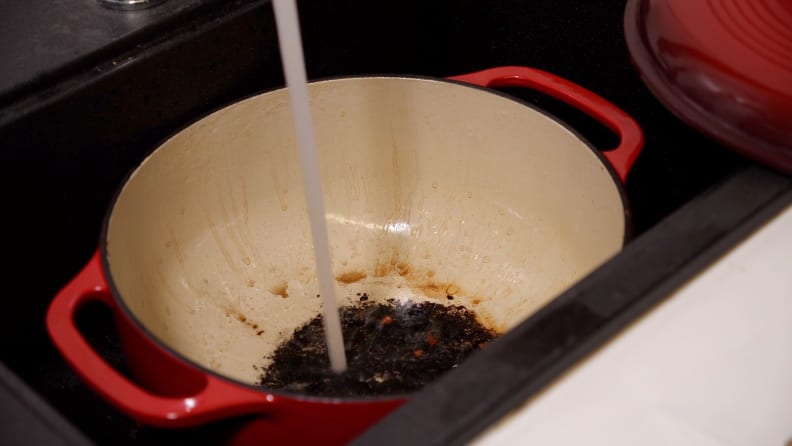
2. Fill the Dutch oven with a small amount of warm water
You only want about half an inch of water in the pot for now—you can add fresh water later if needed.
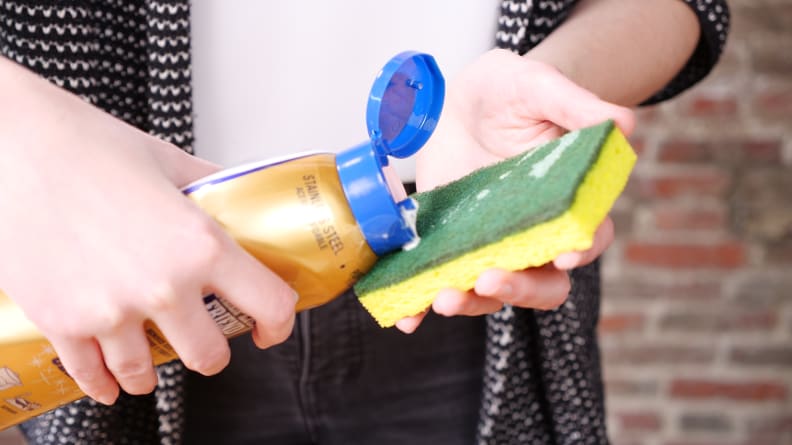
3. Sprinkle or pour a tablespoon of Bar Keepers Friend (or Bon Ami) onto the scratchy side of a sponge
Bar Keepers Friend will work faster and harder than other cleaners, but if you’re opposed to synthetic chemicals, Bon Ami is a comparable natural alternative. You don’t need a lot on the sponge to get started.
4. Scrub the Dutch oven hard until the water is thoroughly dirtied
Work in circular motions, and don’t be afraid to add some elbow grease.
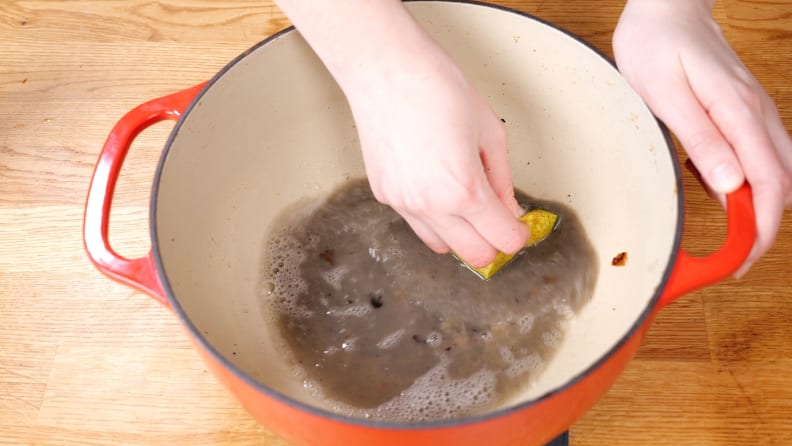
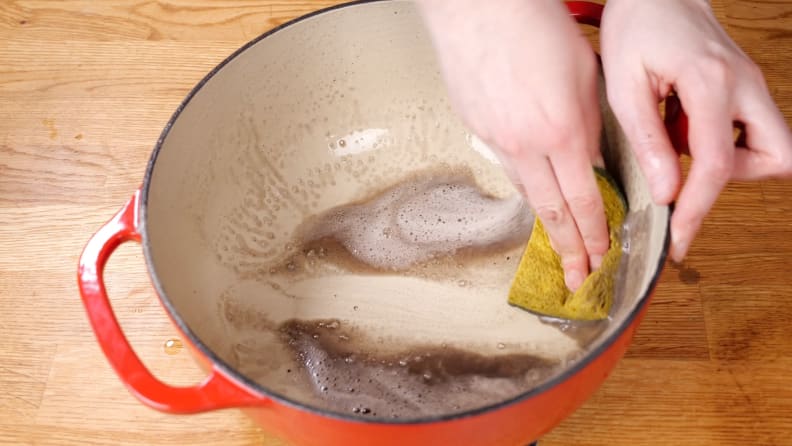
5. Swap out the water and keep scrubbing until all the dark particles are gone
This should only take a few minutes!
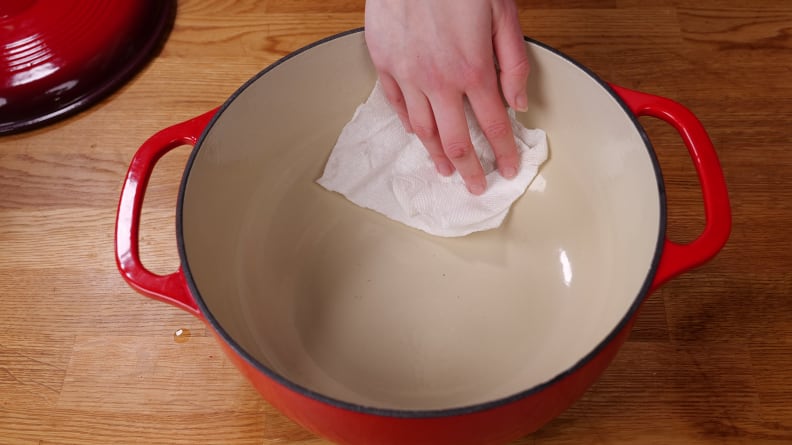
6. Empty and dry the Dutch oven
This is the victory lap of the cleaning process.
7. Enjoy your like-new Dutch oven!
If the outside of your vessel is also scorched up, you can repeat this process with the same materials until the exterior is also good as new. It will take more time and effort, but it’ll be worth it in the end.
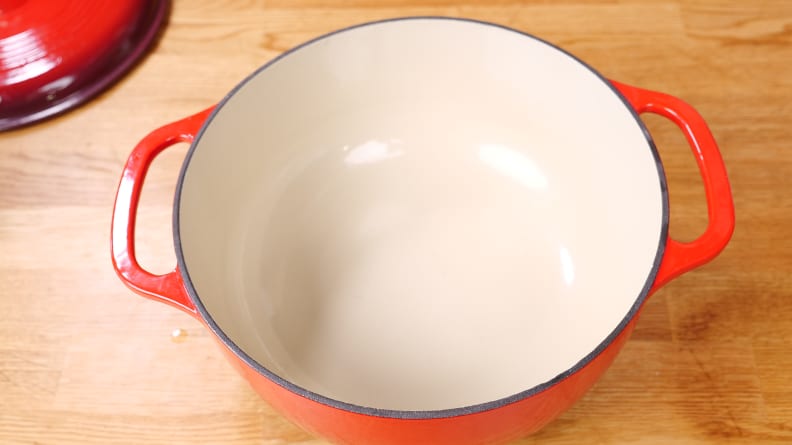
This process has brought my favorite Dutch oven back to life multiple times—and those bad boys are too expensive to not treat properly. Want to know how to clean all your other pots and pans? Check out our guide for caring for your cookware.


