Here's the one tool you need to make healthy snacks at home
Food dehydrators aren't new, but they're as useful as ever.
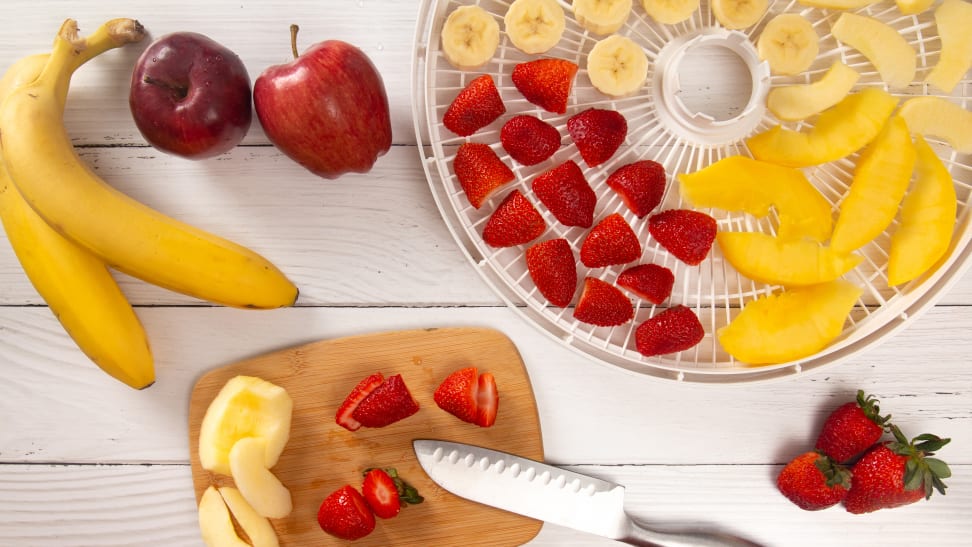 Credit:
Getty Images / pamela_d_mcadams
Recommendations are independently chosen by Reviewed's editors. Purchases made through the links below may earn us and our publishing partners a commission. Prices were accurate at the time this article was published but may change over time.
Through bad growing seasons, long winters, dry summers, and more, humans have always found creative ways to keep our food edible for months on end. But these days, preservation methods like canning and dehydrating are less about survival, and more about embracing all that our food has to offer. And unlike canning, food dehydration requires less room for pantry storage and can turn perishable foods into delicious on-the-go snacks relatively quickly.
Perhaps most importantly, dehydrating your leftovers can help reduce food waste. After extensive research on which food dehydrators are worth the investment, I tested with the Excalibur Food Dehydrator in the Reviewed kitchen to learn the ins and outs of making my own snacks.
What is a food dehydrator and how does it work?
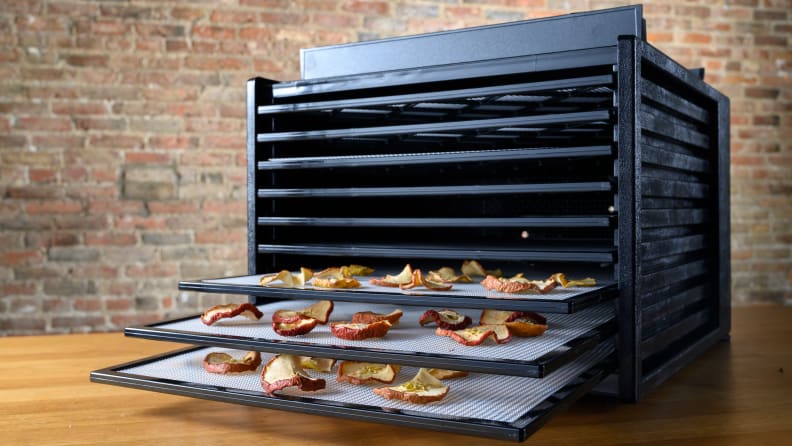
The Excalibur Food Dehydrator can make dried fruit, jerky, and dried herbs.
A food dehydrator is a medium-to-large kitchen gadget that removes water from food through the constant circulation of warm air controlled by a thermostat on the device. A heating element in the dehydrator raises the temperature in the unit, while a small fan on the back or bottom of the unit draws in air and blows it across the trays.
So what’s the difference between a convection oven and a food dehydrator? Simply put, the temperature in a food dehydrator doesn’t get nearly as high as in an oven. Most dehydrators allow users to set the temperature between 90°F and 165°F. You can then customize the time and temperature combination depending on the types of food you plan to dry.
Food dehydrators have long been popular among home cooks and restaurateurs for their ability to increase the lifespan of easily spoiled foods. You can find dehydrators ranging from $30 to $300, but you don't necessarily have to shell out to get a solid machine. This affordable NESCO Dehydrator has more than 11,000 positive reviews on Amazon and is perfect for small homes with limited storage space.
If you truly don't have the space for another single-purpose gadget and you're also interested in air frying and pressure cooking, we recommend the Ninja Foodi multi-cooker, which placed among our best multi-cookers.
What kind of food can I dehydrate?
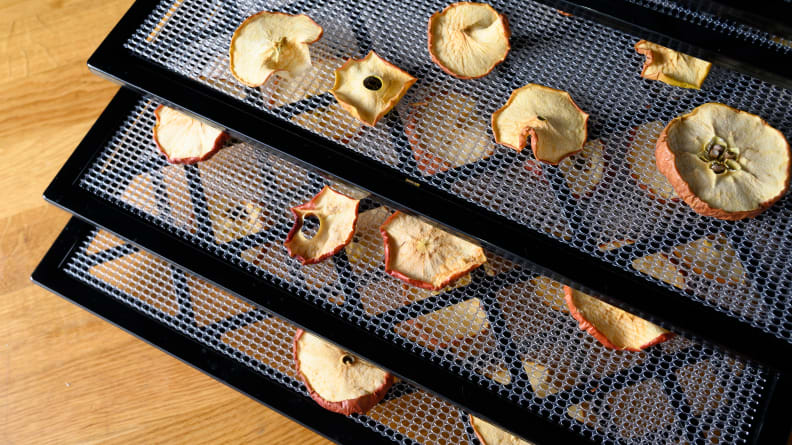
I tried the Excalibur Food Dehydrator to make dried fruit snacks.
You can dehydrate a variety of foods, from juicy tomatoes to leftover fresh herbs—but you don’t have to stop at produce. You can marinate or brine beef, chicken, and fish and then leave them in a dehydrator to make jerky the old-fashioned way. You can even dehydrate yogurt by spreading it in a thin layer across the tray to make yogurt roll-ups.
Factors that may affect drying time
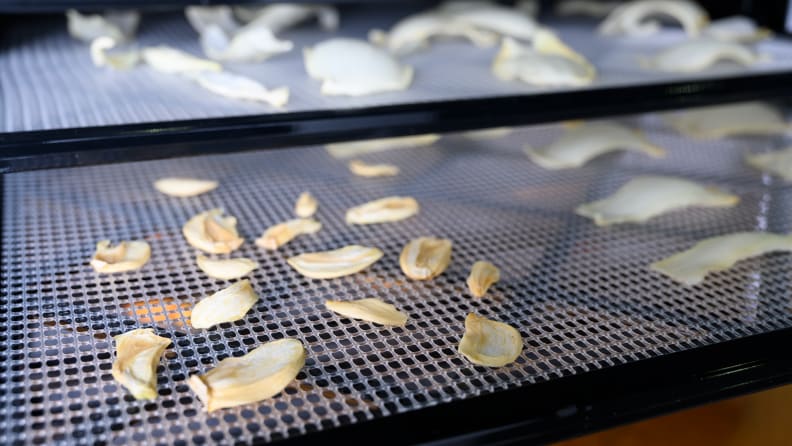
Apple chips are an easy first recipe to try with a dehydrator.
Before you start the drying process, you should make sure all pieces of whatever you're dehydrating are the same size. Evenly sliced food creates a uniform look and decreases your odds of over- or under-drying. Each piece should also be less than a quarter inch thick. We recommend this highly-rated mandoline slicer for achieving perfectly even cuts.
The water and sugar content in fruits, vegetables, and meats all affect drying time. The general rule of thumb is that the more moisture and sugar your food contains, the more drying time it will require. Consult this guide for approximate drying times and dehydrating temperatures, but remember that your local weather will impact the dehydration process because a dehydrator pulls in air from the surrounding area. The higher the humidity level, the longer your food will take to dry.
How to prepare your food before drying
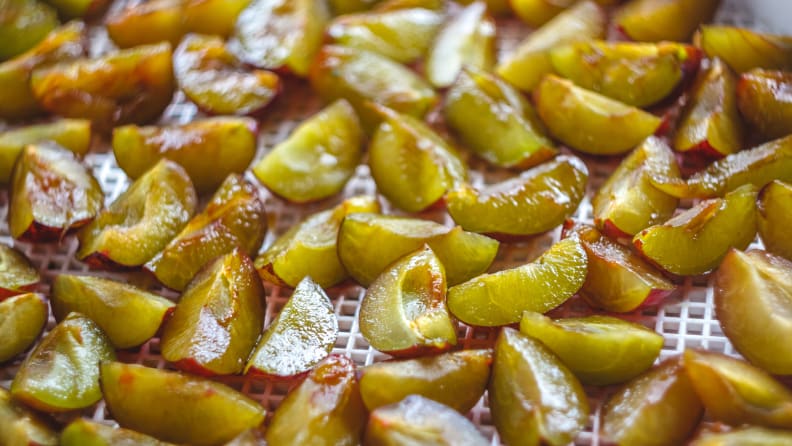
Pretreating your food can help reduce the loss of nutrients and deterioration of fiber.
Pretreating your fruits and vegetables before you turn on the dryer is optional, but it helps to reduce fiber deterioration and the loss of nutrients that tend to occur during the drying process.
There are two main types of pretreatment: blanching and dipping. Blanching, which involves submerging the foods in boiling water or steaming them for under five minutes, is most effective on tough-skinned fruits such as grapes and cranberries. By boiling the fruit for one to two minutes, you work to break the skin and allow water to escape faster, thus reducing the drying time.
Dipping allows you to be creative and add extra flavor to your dried food, particularly fruits. You can pick from a range of dipping selections, including fruit juice and honey, to make the most uniquely seasoned treats of your own.
If you’re opting for a fruit juice dip, stir one cup of juice into one quart of lukewarm water and soak for at least 10 minutes. If you don’t want the added fruity taste, you might want to consider an ascorbic acid-citric dip as an alternative—it's simply a form of vitamin C and can be found in all fruits. Mix two tablespoon of the powder in one quart of lukewarm water to make the dip, then soak the fruits in it for two minutes.
Honey-dipped dried fruits are also popular in grocery stores, but easy enough to make with your own dehydrator. Simply mix one cup of honey into three cups of warm water and stir until the honey dissolves, then add fruits into the mix for three minutes.
And if you're looking for a healthy treat to pack in school lunches or munch on at work, homemade fruit roll-ups could be right up your alley.
How to make fruit leather in a dehydrator
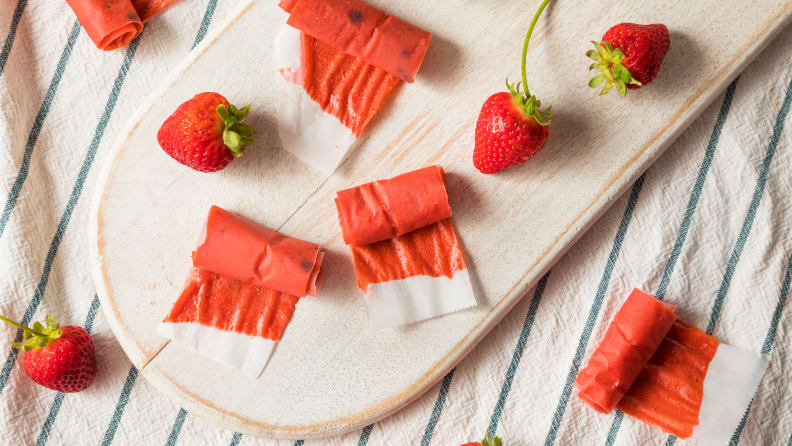
Fruit leather is like a fruit roll-up, minus the artificial ingredients.
Step 1: Purée your fruit
To create a consistent texture, you must purée the fruits before you dehydrate—an immersion blenders or personal blender will do the trick. While you’re blending the fruits, preheat the food dehydrator to 160°F.
Step 2: Prepare the dehydrator
Line the drying tray with parchment paper or this reusable silicone sheet that fits perfectly in all Excalibur dehydrators.
Step 3: Spread and dry the purée
Spread the purée evenly on the drying tray and make sure the thickness doesn’t exceed one quarter-inch. Leave the machine on for four to six hours until the leather appears translucent and is easily peeled off from the tray.
Step 4: Store the leather
Properly storing the leather can keep the dried products safe from critters and humidity—check out this list of our favorite food storage containers if you're in the market. Store dried fruits, jerky, and vegetables in a cool, dark, and dry area. The ideal temperature for food storage is 50°F to 60°F to minimize spoilage and fading.
How to clean your food dehydrator
With a dry paper towel, wipe the trays thoroughly after each use—any food residue, spices, and oil may contaminate the food that you dry next time. Then, soak the trays in warm water for an hour or two. Add a few drops of white vinegar to deep clean the trays.
Take a damp paper towel and wipe the inner surface of the unit carefully to remove condensed moisture from the food. After cleaning, leave the trays and the unit in open air to dry. Drying under the sun can also minimize bacteria growth, which increases food safety.
Get the Excalibur Food Dehydrator at Amazon for $322.99
You’re on your way to becoming a kitchen master. Take the next step and sign up for Chef's Course. You’ll get weekly tips, tricks, and recipes from top chefs sent straight to your inbox. It’s a whole master course for free.


