 Credit:
Reviewed / Getty Images
Recommendations are independently chosen by Reviewed's editors. Purchases made through the links below may earn us and our publishing partners a commission. Prices were accurate at the time this article was published but may change over time.
There are two words every homeowner dreads in the winter: ice dams. But, if an ice dam does form on your roof, you don’t need to panic. For starters, you can check out our guide to what an ice dam is (and how to prevent one), but if you’re here, you probably already have something you’re worried about.
In just about every case, ice dam removal will require getting up on a ladder, so make sure that you have proper footwear and a partner to spot you and hold the ladder steady. If you feel at all uncomfortable, hire a professional to take care of it for you. Here are four ways to tackle ice dam removal.
1. Rake the snow from the roof

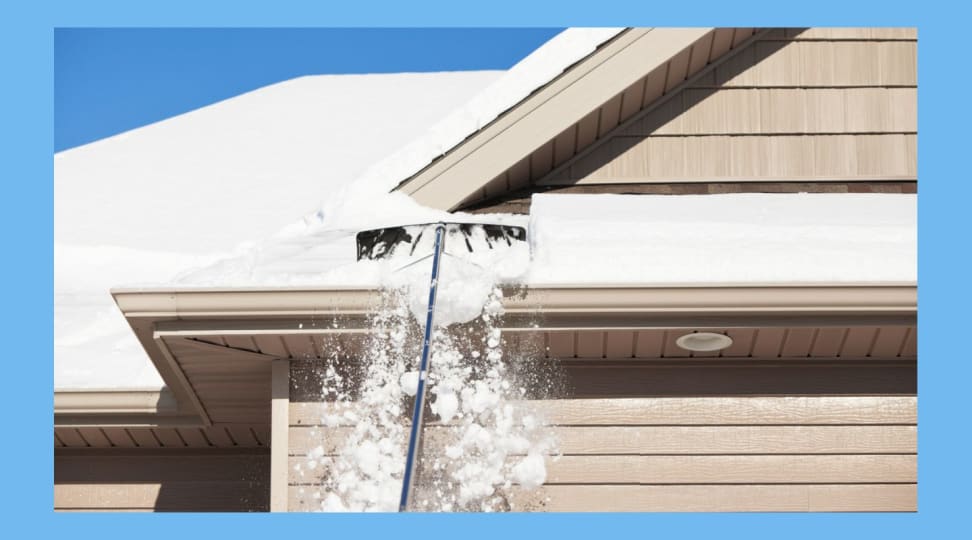
You can likely find a roof snow rake at any local hardware store.
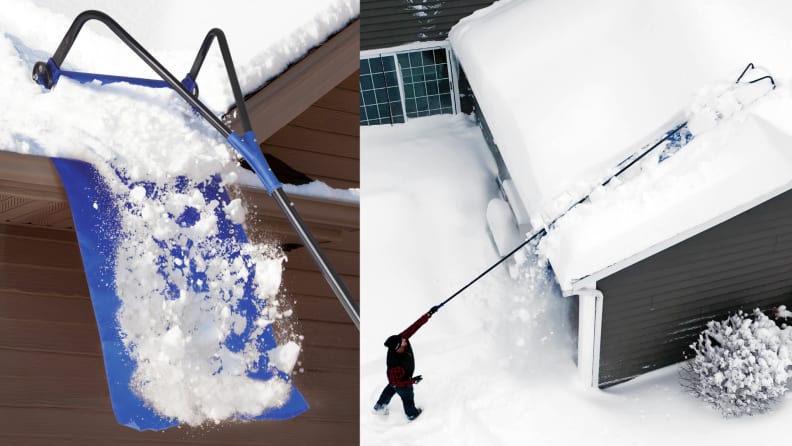
Ice dams are typically only damaging if melting snow is able to pool up behind them and seep in under the shingles. In order to prevent this, pick up a roof snow rake like the Snow Joe Telescoping Snow Shovel—plow-like shovels on very long handles—at any local hardware store.
From the ground, lift the rake up to the roof and pull the snow down. Just make sure you’re standing far enough back that the snow doesn’t land on you. If you clear at least a few feet above the ice dam, the water will be less likely to pool up and penetrate the shingles.
While you have the rake up there, knock down any icicles that have formed as well. A falling icicle can seriously hurt someone.
If you know that your roof is prone to dams, then raking the roof every time it snows can help prevent ice dams before they form.
2. Use a chemical melting agent

Use calcium chloride to melt snow and ice away.
One easy ice dam removal tactic is to use calcium chloride pellets, and only calcium chloride, to melt it away. Never use rock salt—it can damage your shingles and ruin any plants that it drips onto below.
Also, don’t just climb up and sprinkle the calcium chloride on your roof. The best application method is to fill an old sock or pantyhose with calcium chloride, tie off the end, and lay it across the ice that you want to melt. The sock prevents the calcium chloride from washing away.
For larger dams, it may be enough to use this method to create channels through the dam for the water to flow.
3. Pound it with a mallet

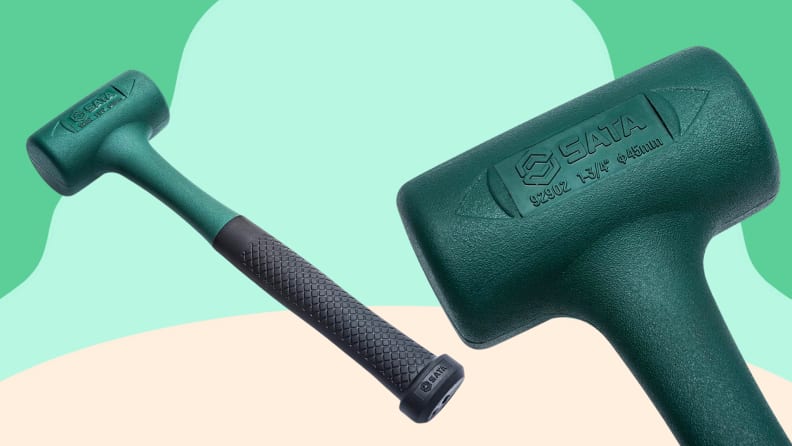
Chip away at ice with a mallet.
Sometimes, chemicals either aren’t strong enough or fast enough to solve the problem. In this case, you may need to climb up there and chip away at it.
Always do this with a partner to hold the ladder and watch you for safety.
The best tool to use for this is a mallet. Melt as much of the dam away as you can with calcium chloride, and then use the mallet to clean up the rest. Don’t use something sharp like an axe or a chisel—you can damage your roof and make the problem of leaking that much worse.
And for goodness sake, please do not try to melt the snow with a blowtorch. This is just asking to light your roof on fire.
4. Hire a professional removal service

Though hiring someone may be pricey, it will get the job done.
If you’re not comfortable up on a ladder, or aren’t having success with the above methods, you can always hire a professional to take care of the problem for you.
Many professionals use commercial grade steamers to quickly melt away ice dams, or at least shrink them to manageable chunks. They also can likely give you some ideas to implement for ice dam prevention.
While a pricey option, it’s certainly the safest choice.
The product experts at Reviewed have all your shopping needs covered. Follow Reviewed on Facebook, Twitter, Instagram, TikTok, or Flipboard for the latest deals, product reviews, and more.
Prices were accurate at the time this article was published but may change over time.


